

Closet Reveal: Elfa Install + Review
Ah, you guys! I did it. I finally installed my first Elfa Closet system and I am obsessed. It was so easy to install (not sponsored). In case you are on the fence about installing this system, here is the inside scoop. I'm covering which products we used, all the details of the install, why we bought extra rods and what I would do next time.
If you remember, we recently renovated our basement and added an office in the existing square footage. We are still waiting on artwork for the space so I haven’t shown y’all the final reveal BUT I finally got around to installing the closet in that space. And THAT is what I am so pumped to share with you. Here is a a before of the closet:
I knew I wanted to incorporate space our existing office supplies. I also wanted to make sure there was room for clothing storage should we ever want to use this as a bedroom instead. It’s a small 2 foot x 3 foot space so that is a tall order for such a small space.
Products we used:
We bought this exact system from The Container Store. I actually went into the store to buy it since I had never bought an Elfa system before. I thought that it would be in a flat-packed box (Ikea style!) ready to pickup based on the picture I saw online. It was not!

FYI: You have to pick out each of the items that make up the photos you see online. This would be overwhelming except they have people there to help you do that! I would recommend making an appointment before you go (I happened to get lucky that day!). She placed my order and a few days later, I pulled up to the store and they loaded all the things I needed in the car.
Products we didn’t use:
We didn’t use a few things that we ordered: the drywall screws (we went straight into wood studs) and the extra wood screws. That's it! It was right on the money and I was thankful we had other options for install should we have needed it.

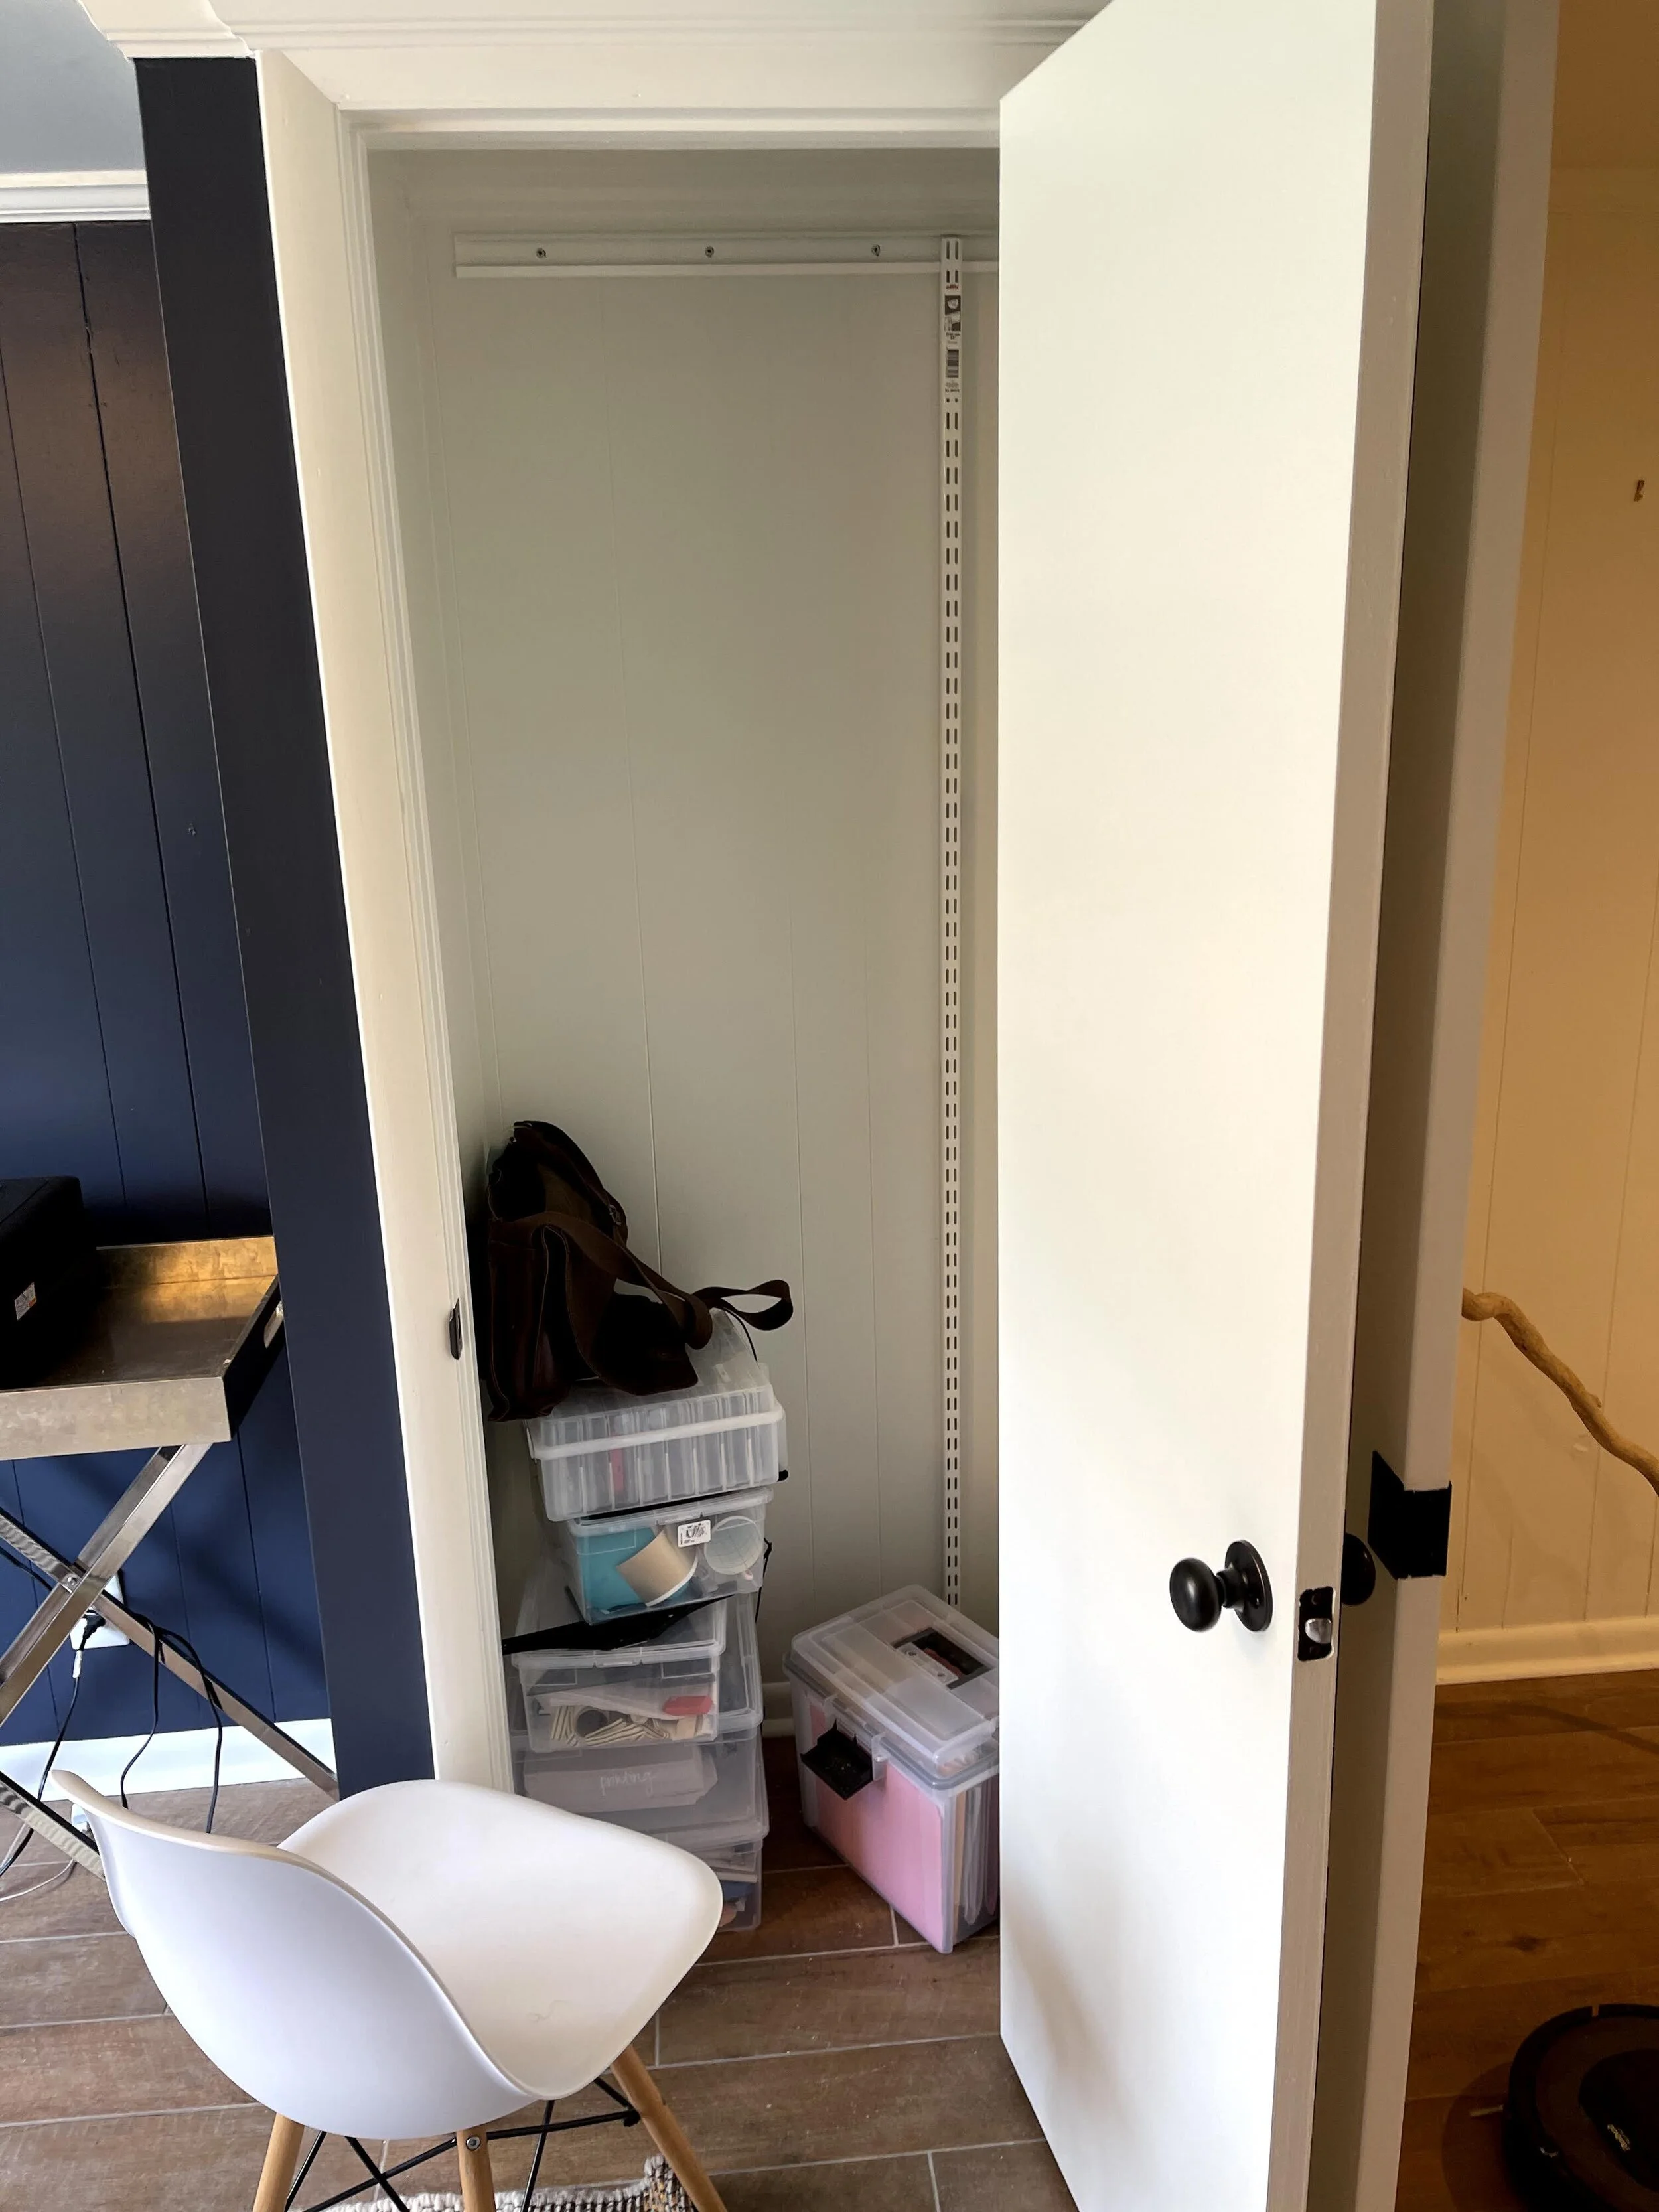
Why we ordered extra rods:
If you look at this picture you may be thinking, where are the clothes and the rod? We opted to buy the rod and the attachment components for use later if we decided to turn this into a bedroom. So we have those and it can configured like the photo when we need to. I love that one system can be configured in so many different ways. Its the sign of a good system that can grow with you over time.
Install:
Installing the system was easy. The hardest part was cutting the rails. This is not typical of instal though. Our ceilings are super low down here (7 feet). Withe crown molding and baseboard, that left even less room for the vertical rails. So we used a saws-all to cut them to the appropriate length.

If we hadn’t had to cut the rails because our ceilings are so low it would have been a 3 out of 10 on the difficulty scale. All you have to do is install the top horizontal track into studs and make sure its level. From there it is intuitive. But don't worry, there are instructions if you need them. You add the vertical bars and go to work installing the shelves and drawers. After the initial bracket, we never picked up a tool again.

What I would do differently:
The left vertical bracket is VERY far over to ensure the drawers can open. Since this is a 3 foot closet and a 2 foot closet insert, its tight. When Ty asked me where to line up the top track, I said to center it. I didn’t take into account the door opening. All that to say, if I did it again, I would take this into consideration to give us more wiggle room on the left side.
When I first installed, I was so excited to put the printer in the closet! I put that shelf in first. Right in the middle. Then I realized it was going to be tough (read: impossible) to drop a drawer bin from above. If I did it again, I would better plan out each drawer and shelf first then start at the bottom and work my way up.
Other than that, things went so smoothly and I couldn’t believe this whole thing was installed and organized in under an hour (even with cutting the rails!).
Final Verdict: 10 out of 10 recommend. I can’t wait to have another opportunity to use a system like this.
Key Takeaways:
1. Make an appointment at The Container Store to design your Elfa Closet.
2. Bring your measurements with you.
3. Have an idea of what you want it to look like and how you want it to function before you go.
4. Make sure you consider the drawers and door openings BEFORE you install.
5. Install the shelving from bottom to top. Work your way up.
Here are links to all the products in our closet including the organizing bins:
What do you think of the closet transformation? Would you use Elfa after seeing this?
xx
Caro
