Scanning and Preserving Kid’s Art (the easy way)
Sharing all the details about how to organize, scan, save and enjoy your kids art using Shutterfly and Genius scan. Updated 2/24/22
As a mom of two, I understand the overwhelm and mom-guilt over keeping or not keeping all of the art that comes into our home. Even as someone who is not super sentimental, there is something about my child’s art that hits different. Today I’m sharing my system for organizing kid’s art. I’m sharing:
How to create a system for organizing art as it comes in
What to do with all of it
How to combat the mom-guilt
How to decide what to keep and what to let go
How to preserve all of it without the paper overwhelm and clutter
The best way to see, use and enjoy your kid’s art for years to come
Here is how I organize my kid’s art using Shutterfly and Genius Scan. I hope you will find this helpful. I include this art as part of our annual family album. If that is something you are interested in learning how to create without the overwhelm, read more about that here.
Creating a system:
As art comes in we enjoy and display the best ones over the little nook in our kitchen with a kid’s table. I try to add a month and year to each piece when I pull it out of Tommy’s back pack from school AND if it doesn’t say it already, I put his name on it. Do you have a place where you can display your kid’s art? In short:
Have one location to display favorite or new art pieces. I share a few ideas here.
Label it when you pull it out of their backpack: Name and Date
Assign a file folder or clear shoe box bin for art to land throughout the year (like when the bulletin board is full!)
Here’s how to scan, preserve and photograph your kid’s art:
Gather all of your kid’s art. If you haven’t identified a bin or folder for kid’s art to land throughout the year, now is the time.
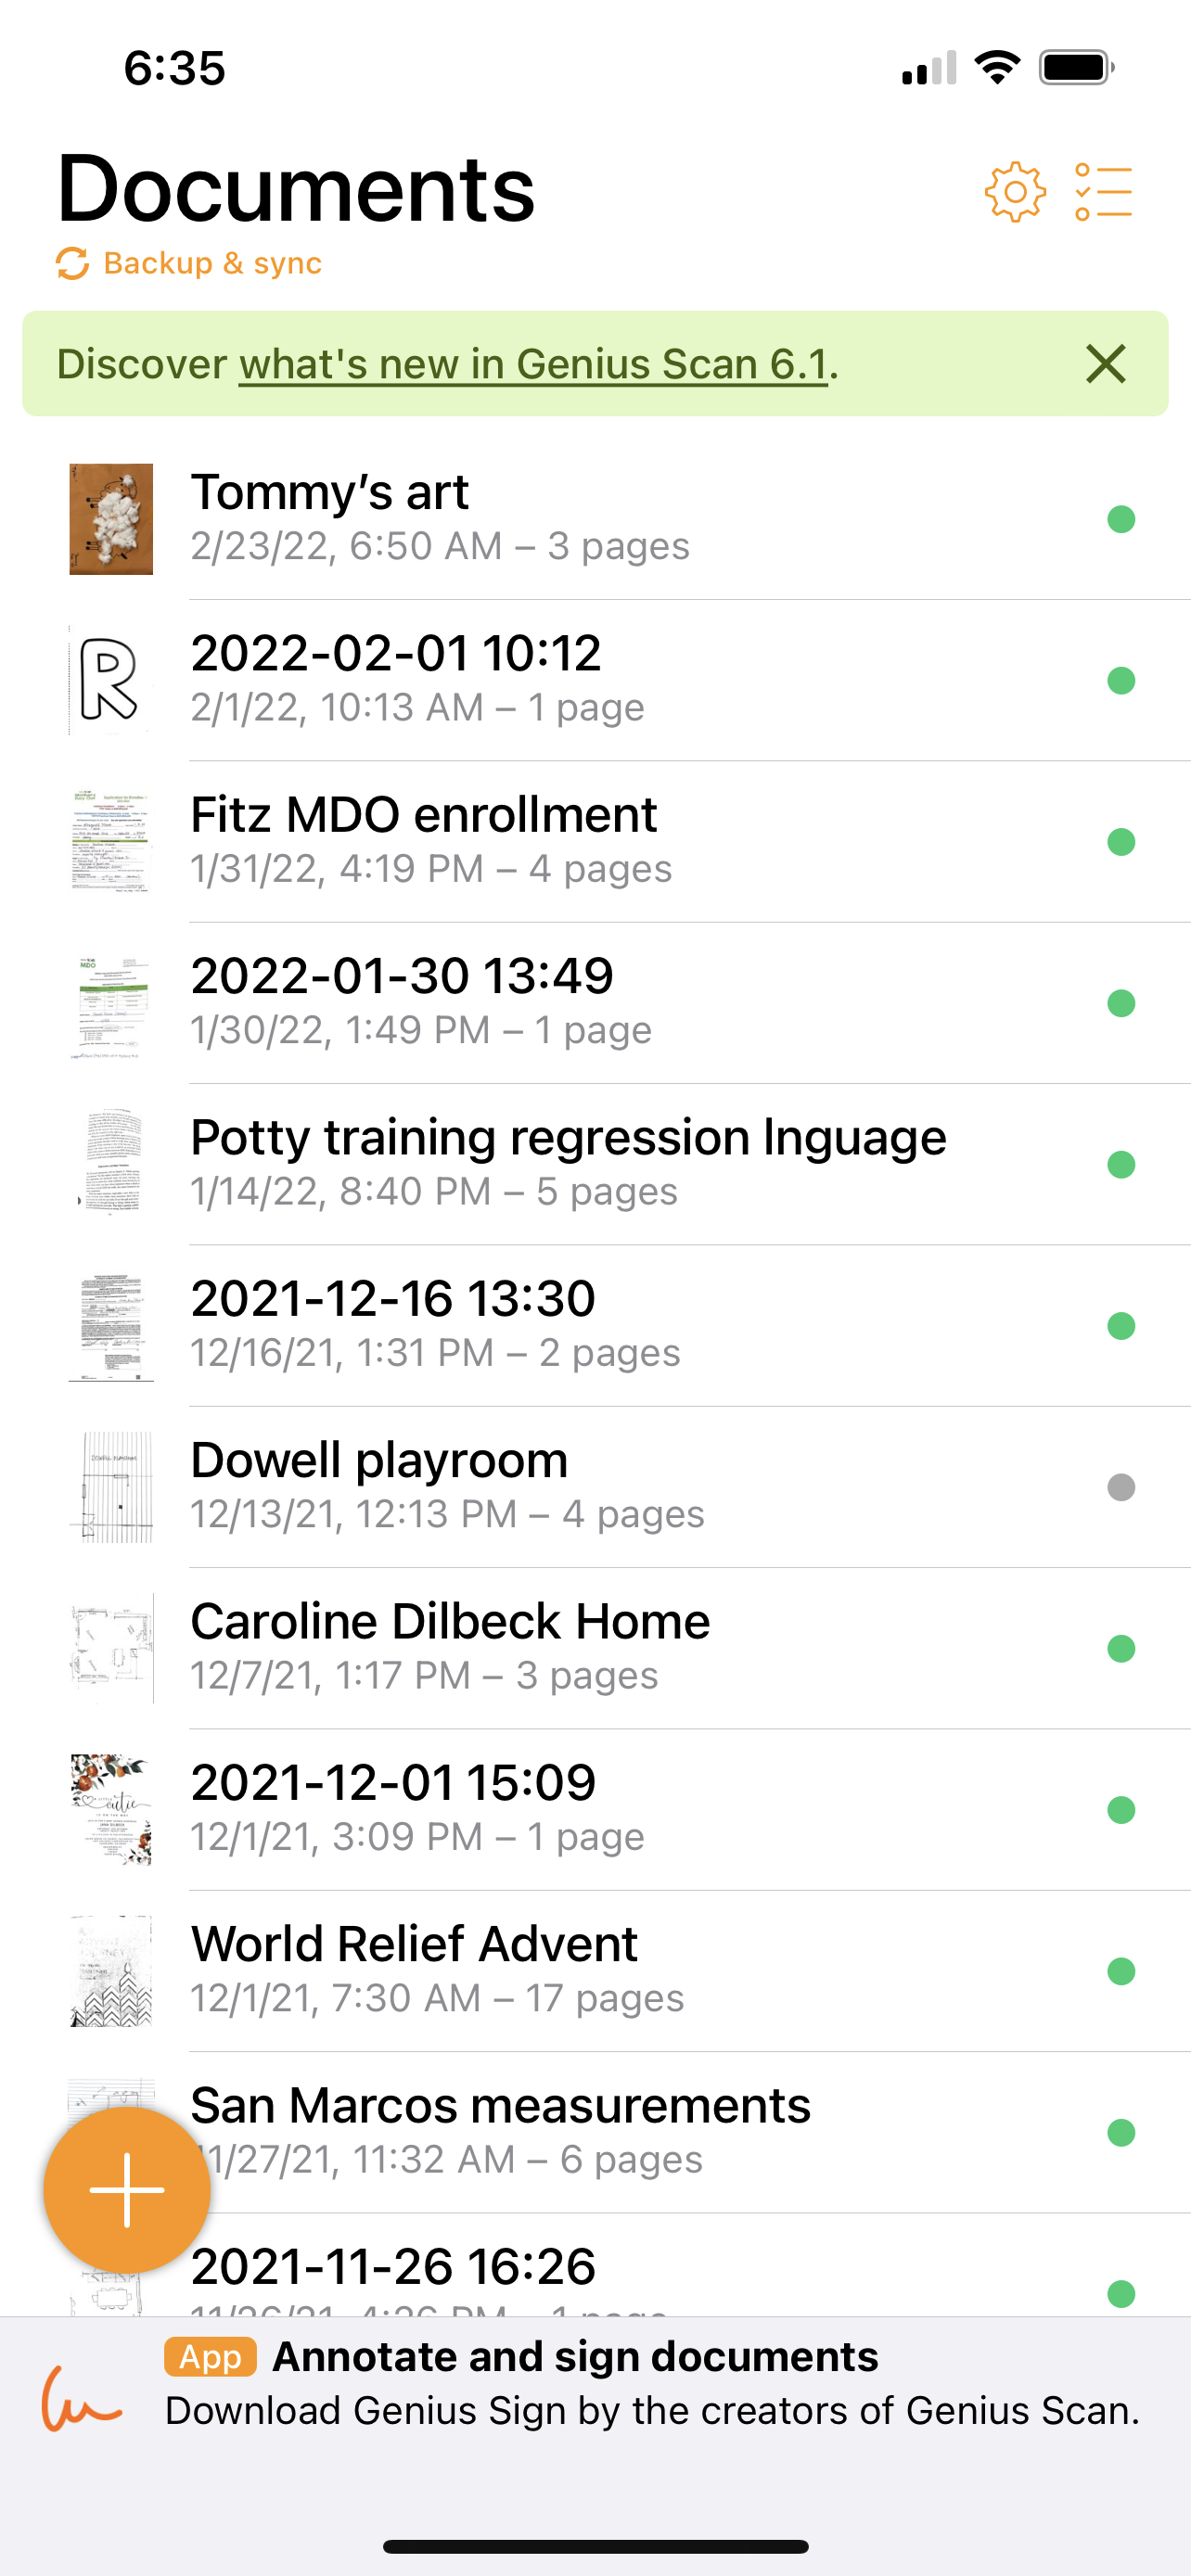
Download and open the Genius Scan App on your phone to easily preserve and photograph your kid’s art. I love this app because its free and allows me to scan multiple art pictures at once and effortlessly edit them.
Inside the app, tap the orange plus sign at the bottom of the screen.
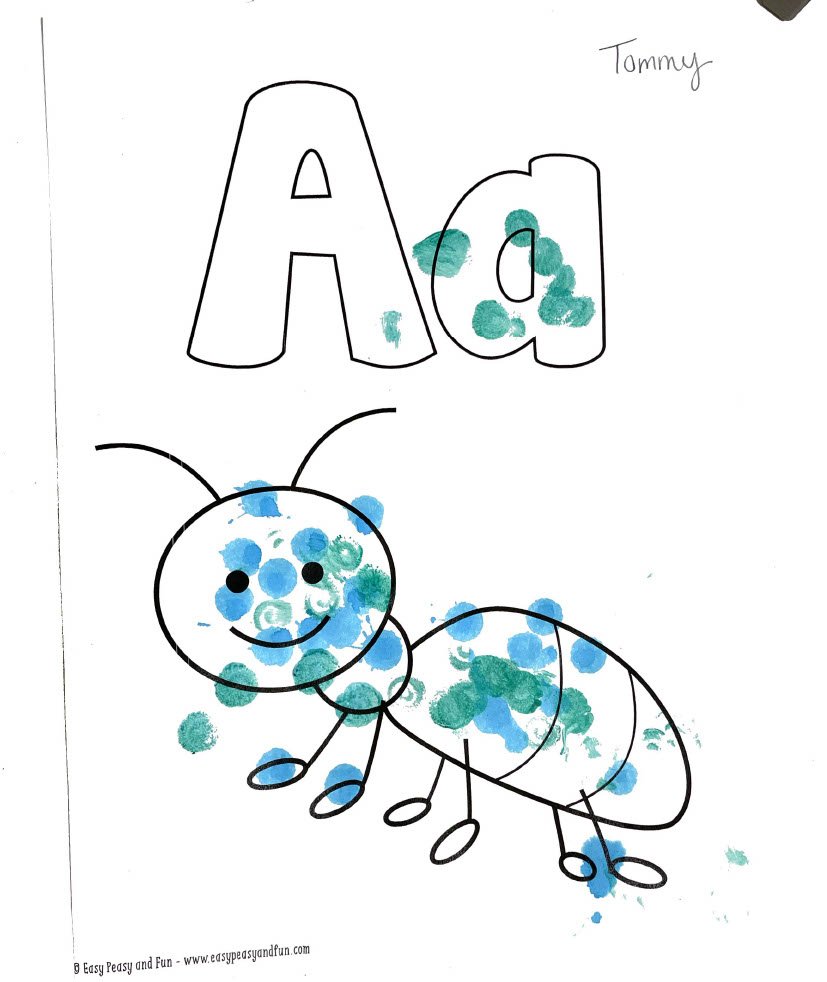
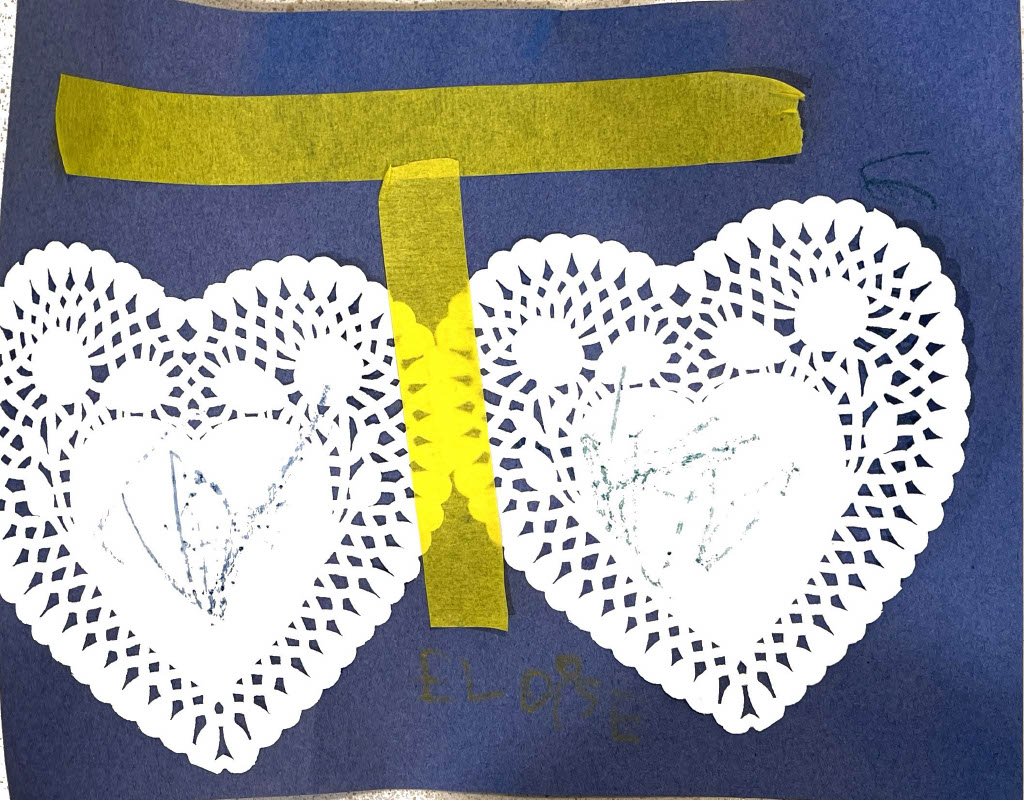
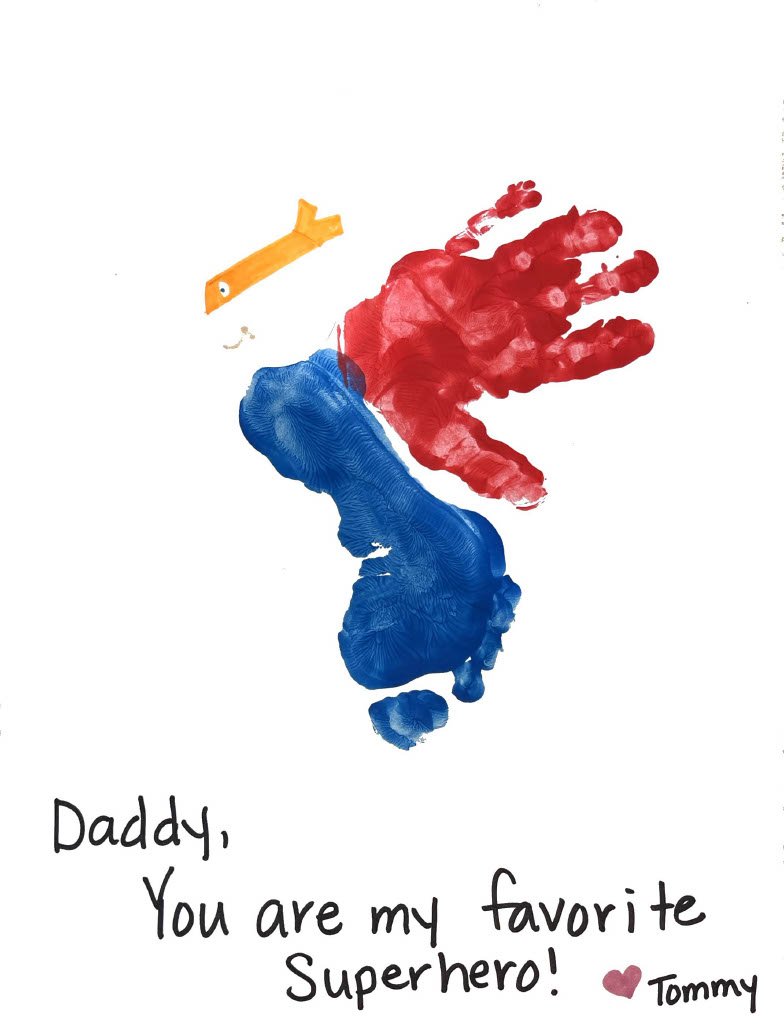
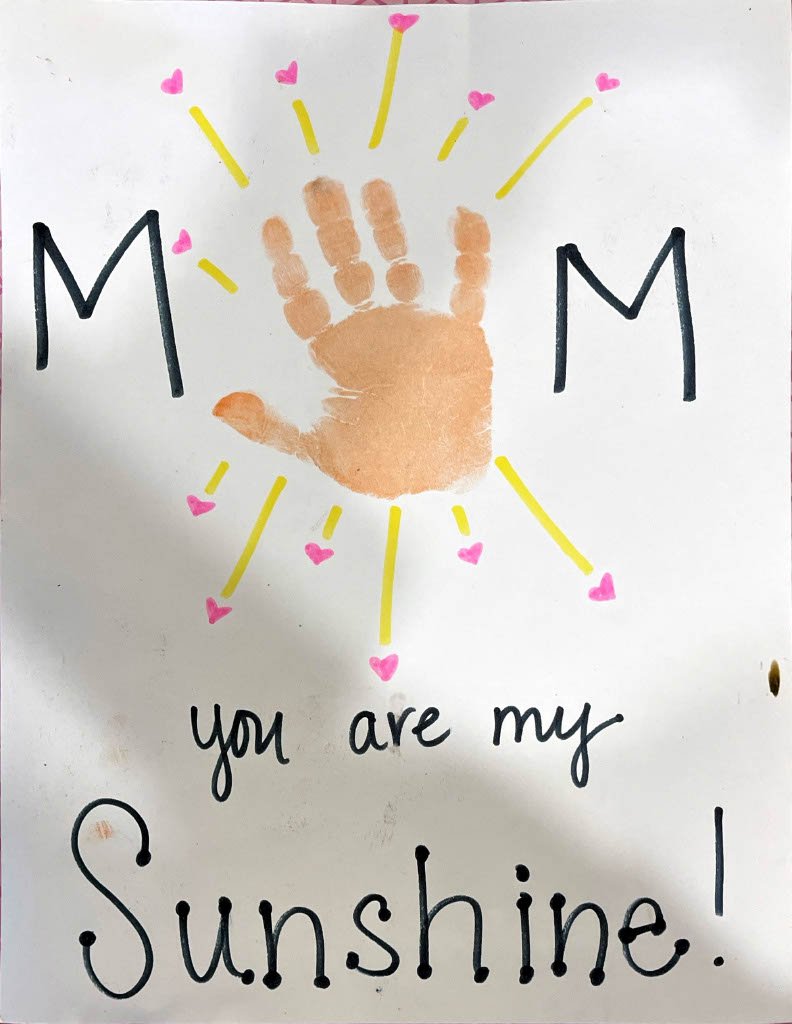
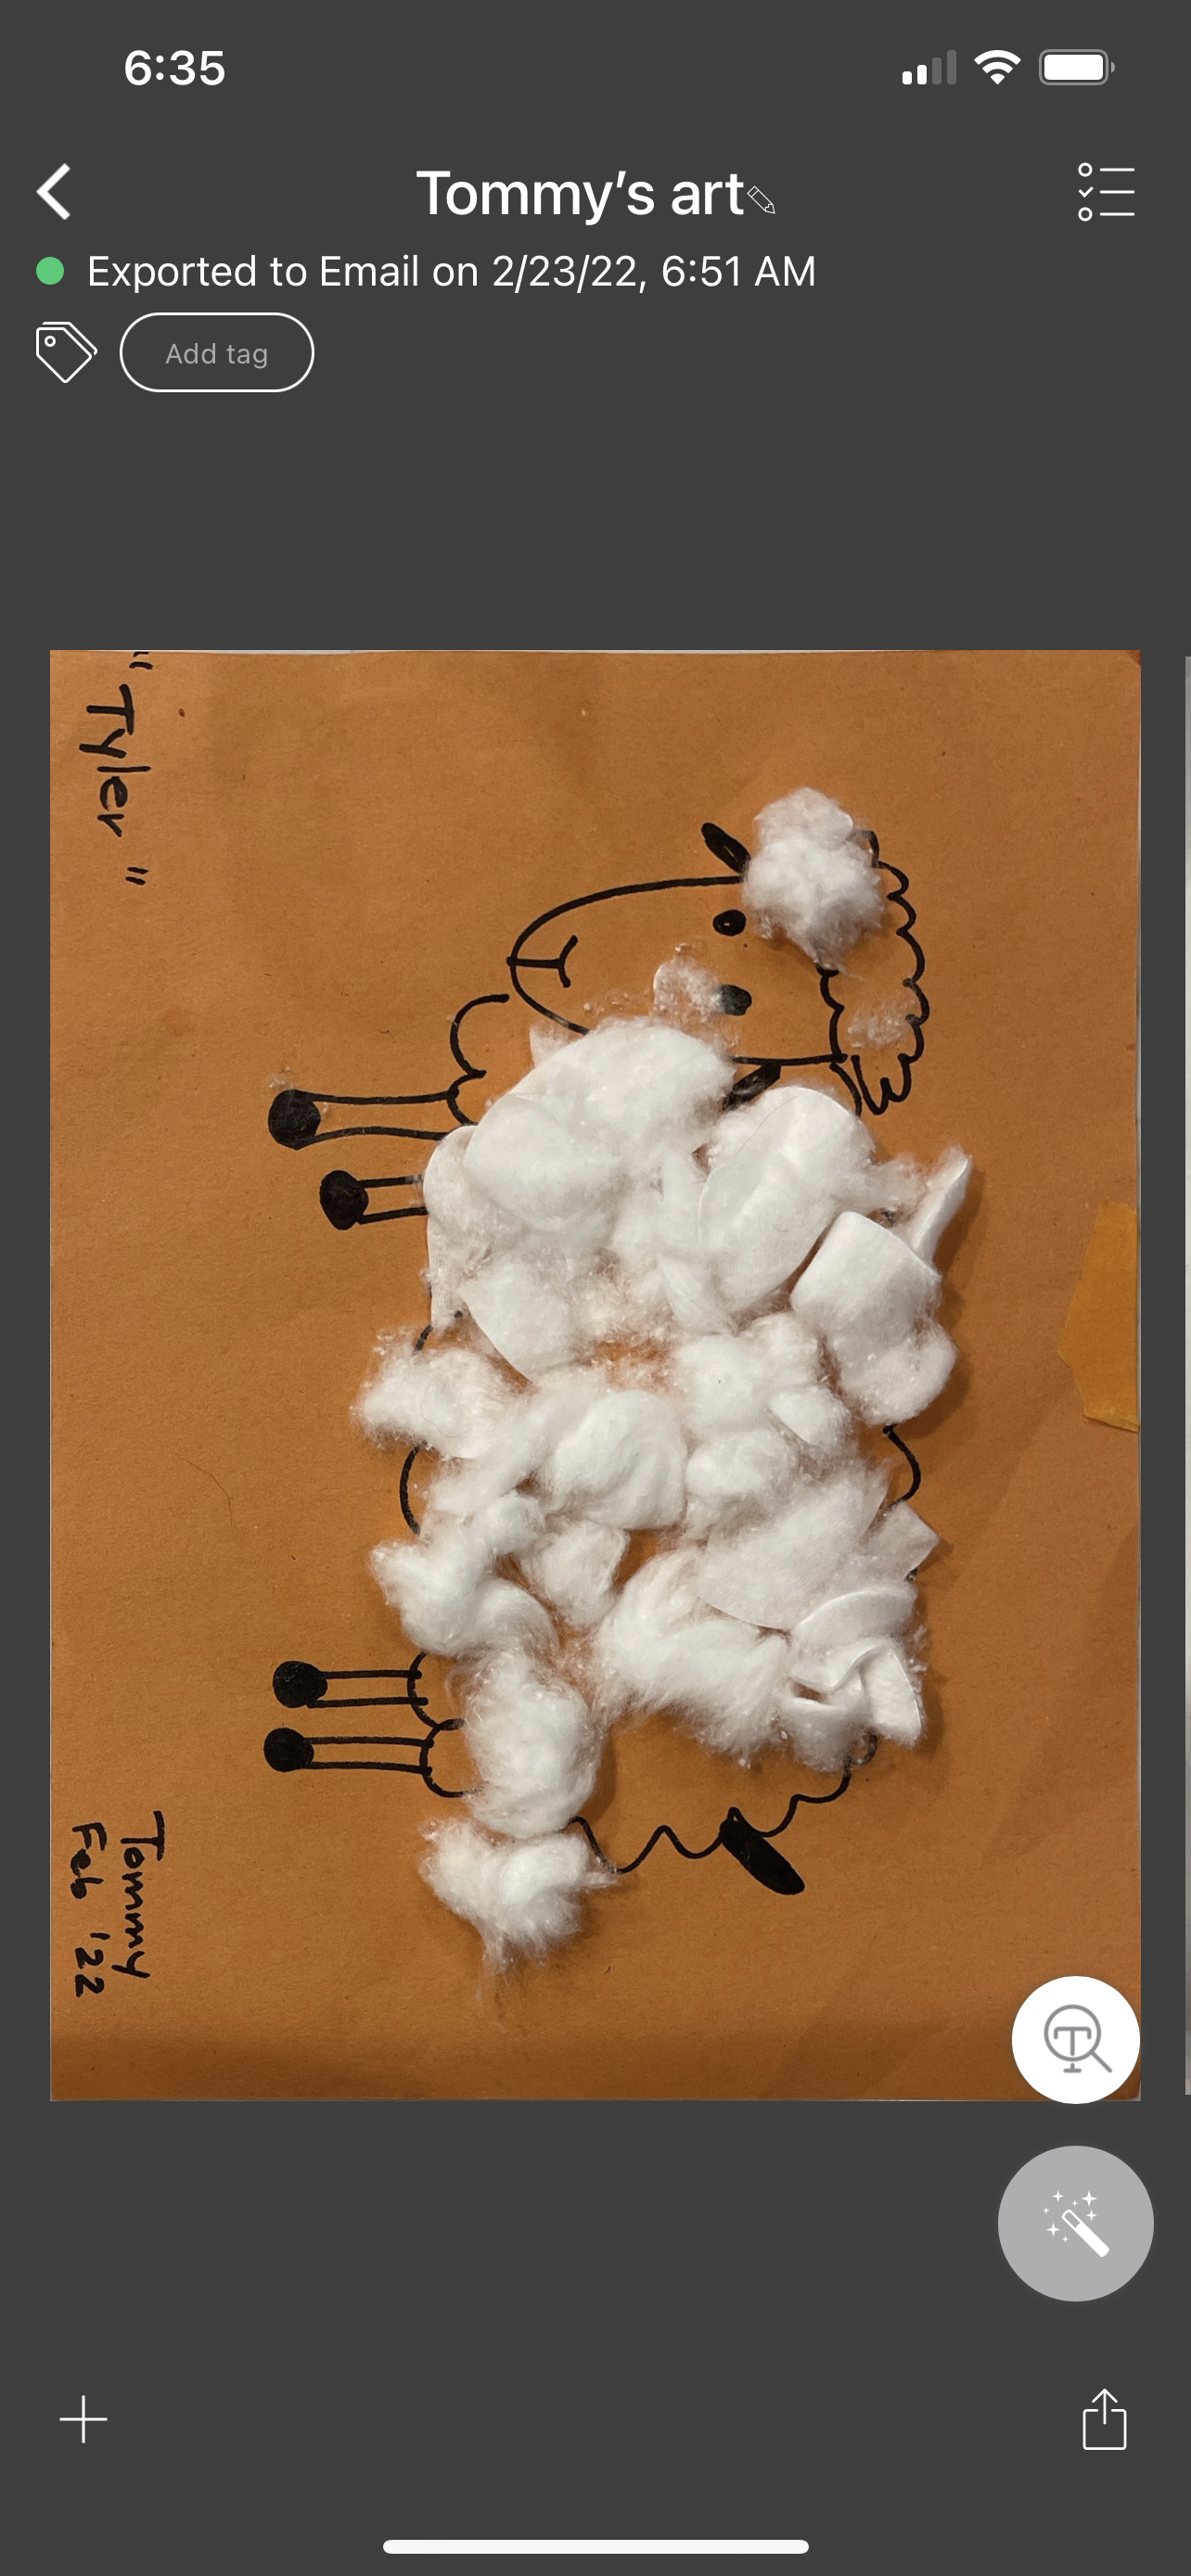
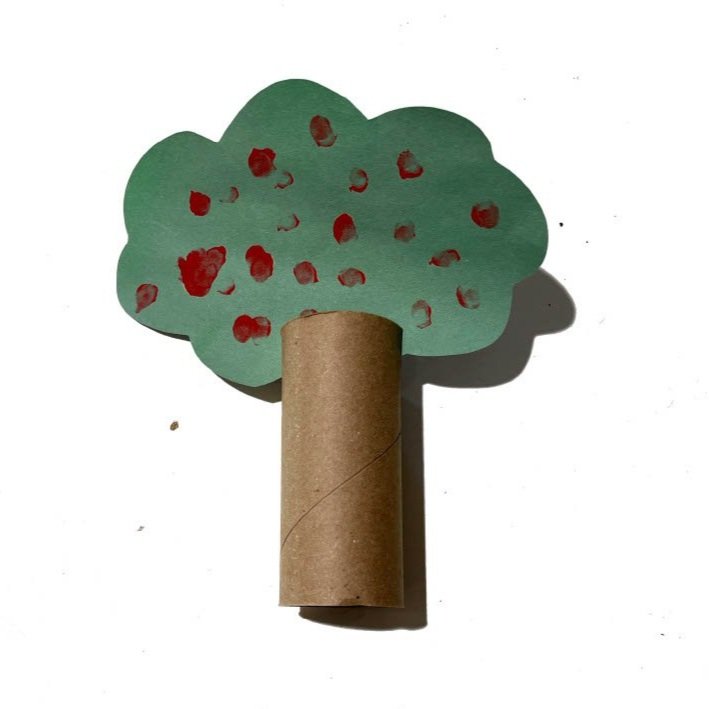
Photograph your kid’s art on a white sheet/background near a window if you can. You will want natural light so turn off all interior lighting. See that last photo above? I was standing over it in a dimly lit kitchen - don’t do that!
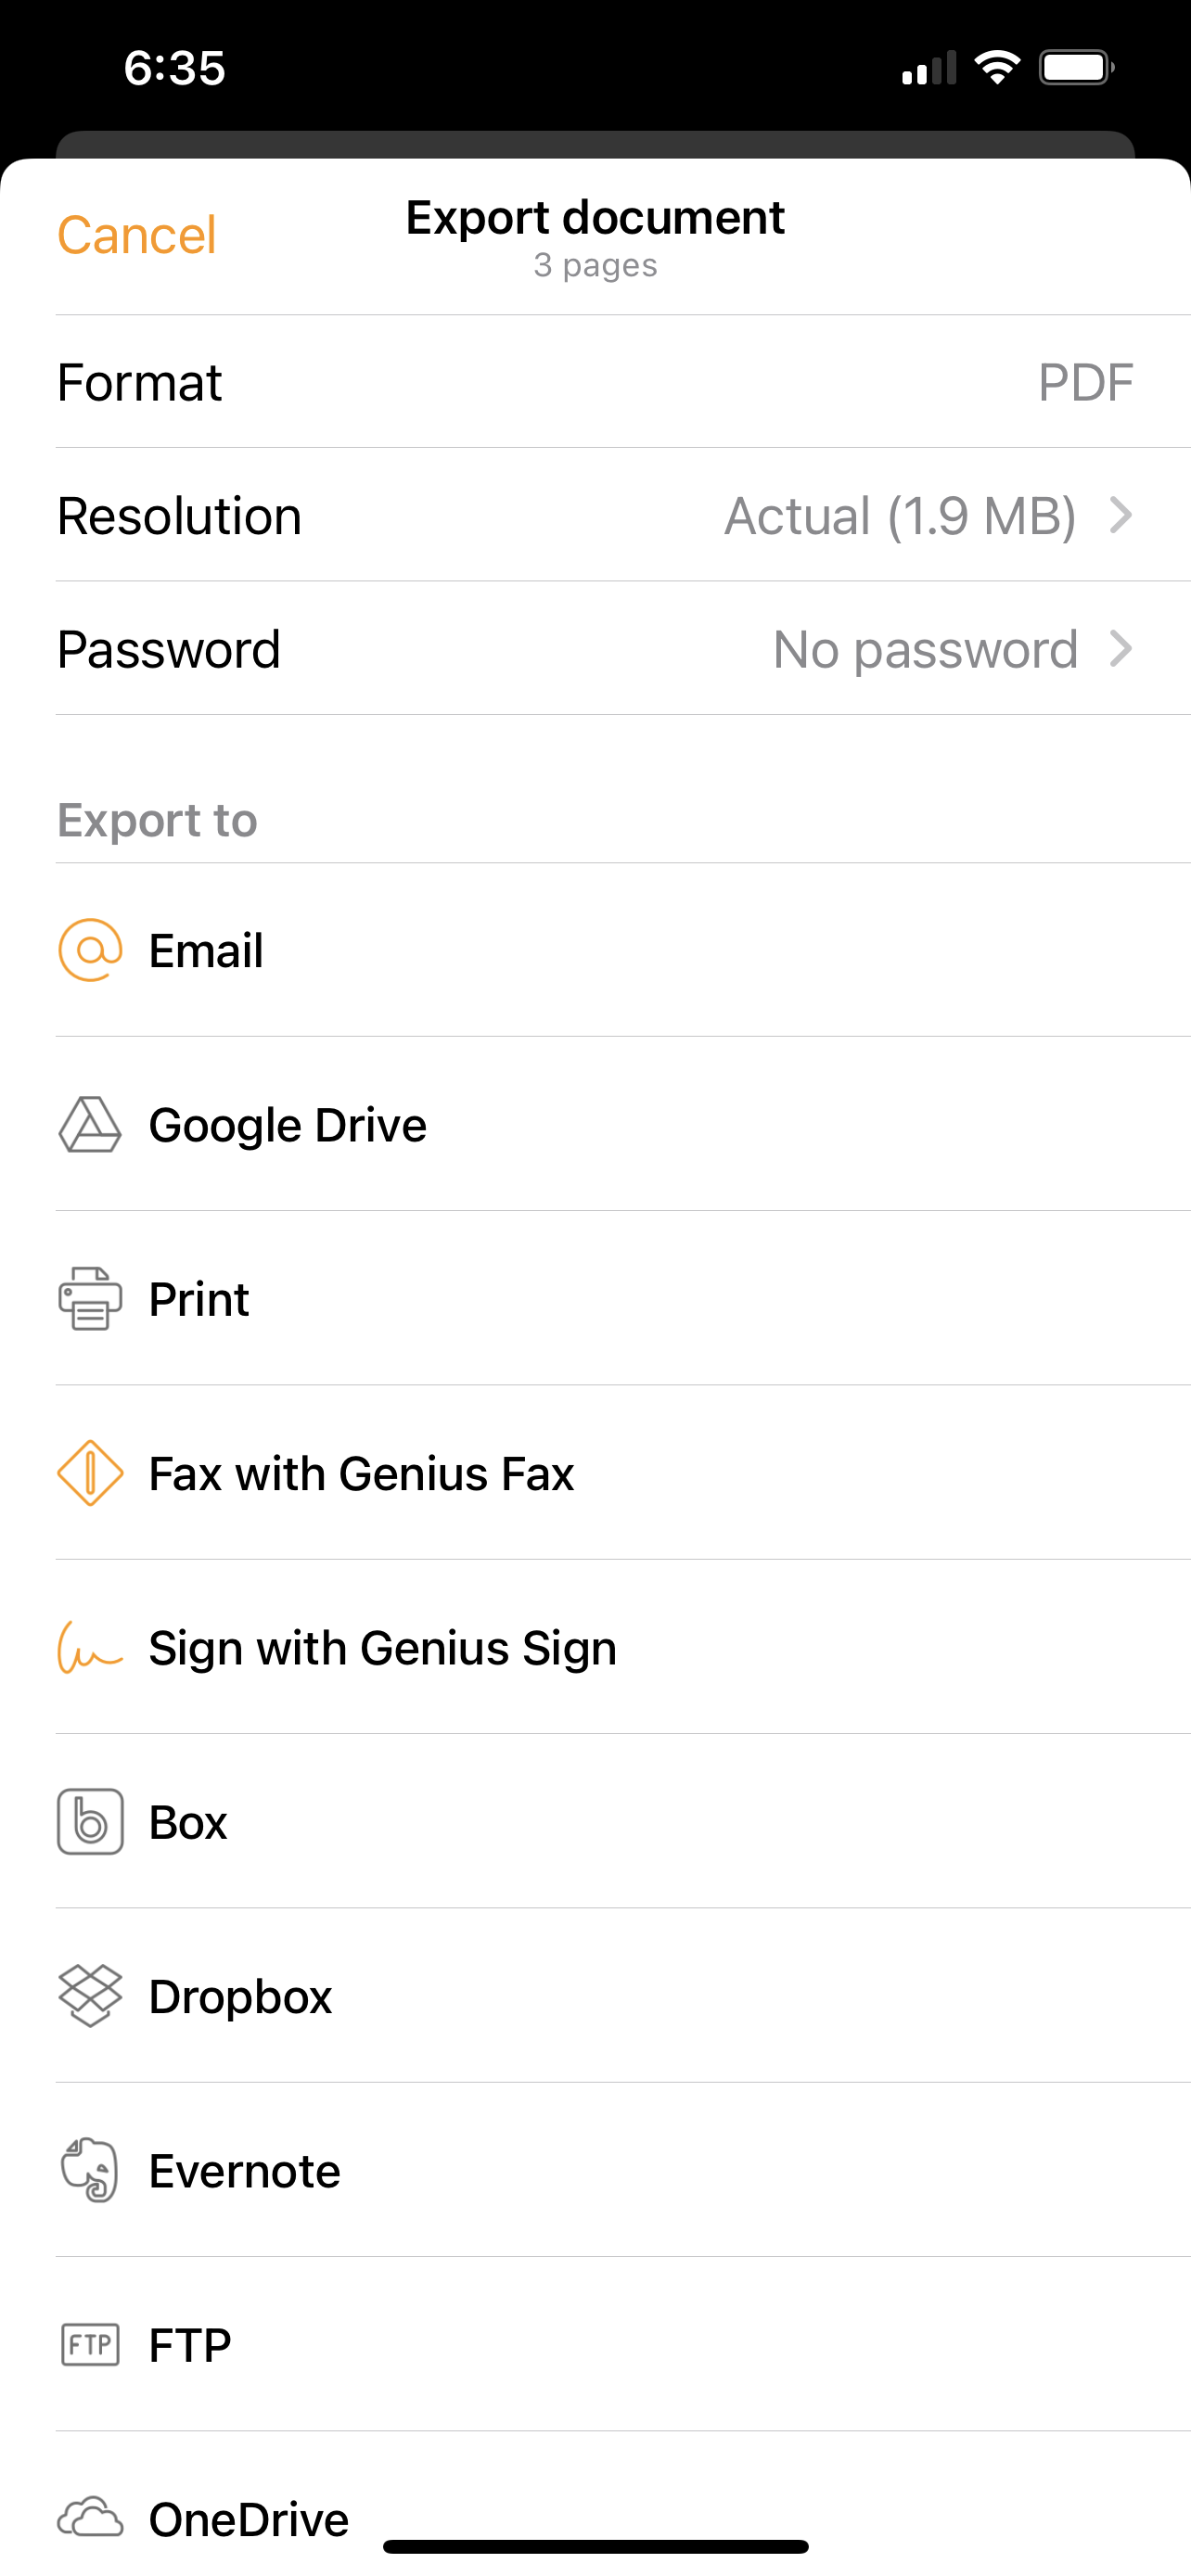
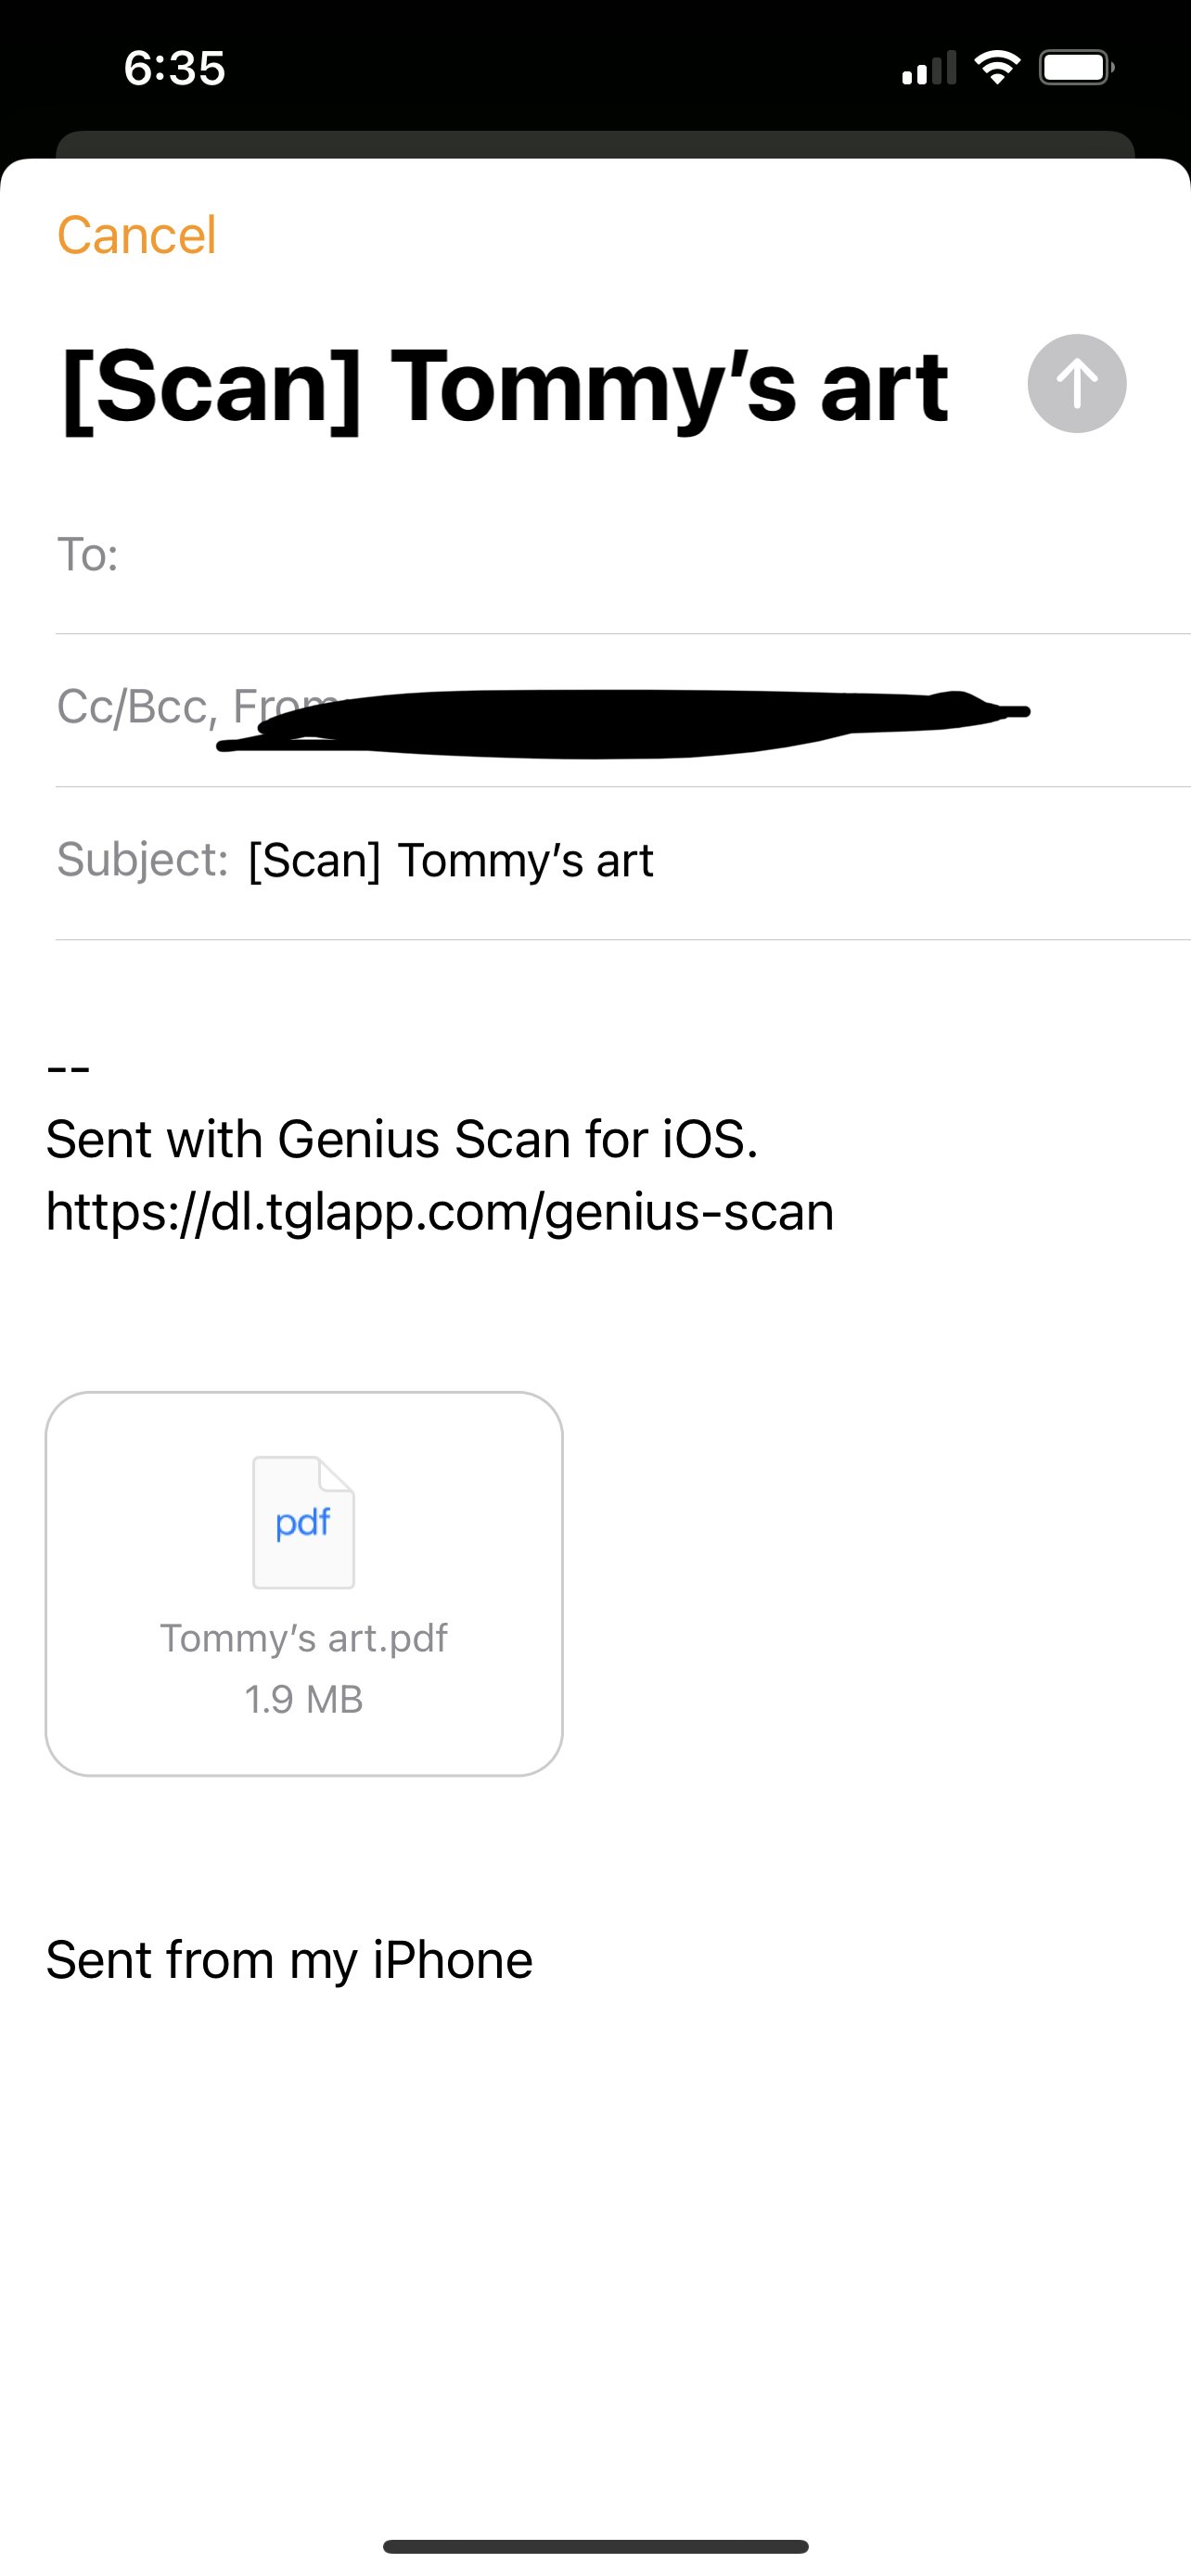
5. Once you’ve scanned all the pieces. You can choose to save them to Google Drive or Email to yourself. Choose JPG format for easy upload to your future Shutterfly photo album (more on that here).
6. From Google Drive or from your email, download the photos to your computer in preparation for upload to your Shutterfly photo album.
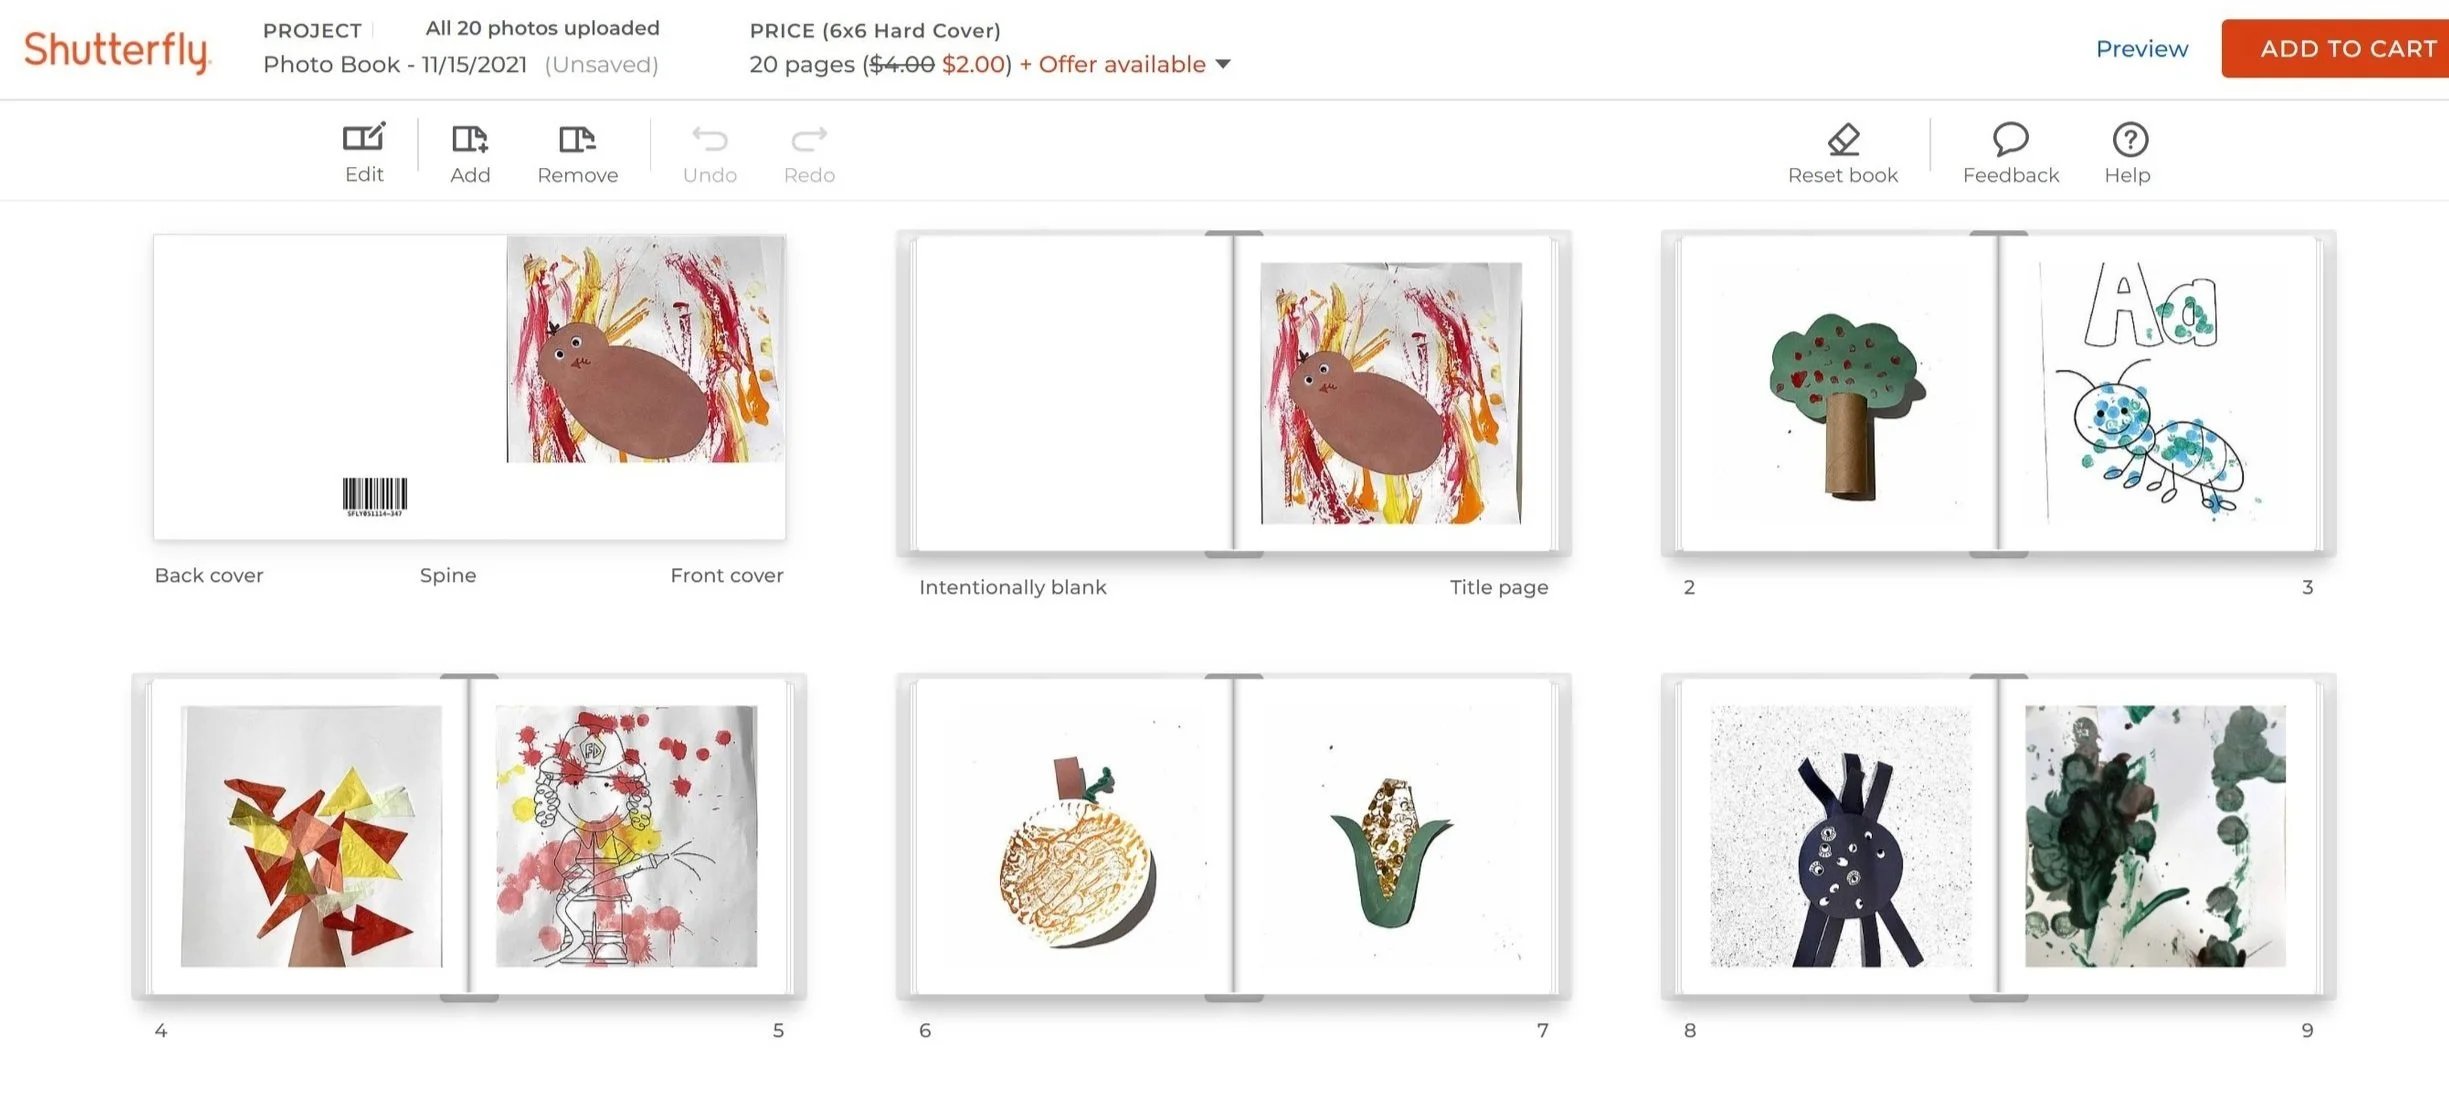
7. Create a photo album in Shutterfly using all of the art photos. You can incorporate this inro your annual family photo album or create a separate annual art album.
Deciding what to keep
Now that you have sucessfully preserved all of your kid’s art in a way that you can see, use and enjoy the decision of keeping the paper copies is a little bit easier. Here are a few ideas to ponder when deciding which kid’s art to keep and which to let go:
Envision handing your own mother handing you an enormous box of yourchildhood art. What on earth would you do with it?
Enlist your kids to help decide.
Consider choosing a few pieces that represent their skill and ability at that particular age. It is so fun to watch them learn and grow.
Choose a few special pieces. For example:
The very first piece of art they ever bring home from school/MDO for that year.
One piece of art from each holiday (Halloween, Christmas, Easter, Thanksgiving)
Art you can tell your child is particularly proud of.
Tommy’s First Art at WECC MDO
The HARD PART: Once you take the photos, you can release the art. Sure, keep a few things for their SMALL file folder for each year of memories, but everything else goes. EEEK! I know its hard but remember you now have a way to see and enjoy all of the art rather than it being stored for perpetuity in a box somewhere.
Does this help you get ahold of your kid’s art? I hope so!


